
How to Repair Concrete
Concrete breaks down over time — cracks, spalling, pits, and surface wear happen on every slab. The good news is most concrete repair is simple with the right products and a clear plan. This guide shows you how to fix the most common problems and recommends reliable materials I’ve used on real jobs. “Use this page as your starting point to understand the problem and choose the right repair guide.
Related Guides
- How to Repair Concrete Cracks – Step‑by‑step guide for cleaning, prepping, and filling cracks the right way.
- How to Patch Concrete – Best for fixing holes, pits, and damaged areas so your slab is solid and ready for sealing or coating.
- How to Resurface Concrete – Ideal for restoring worn, spalled, or ugly concrete with a fresh, uniform finish.
- Should I Repair Concrete – Not all Concrete should be repaired- click this link to learn if your concrete qualifies.
- Start Here: Concrete Tools & Guides – Your main resource hub for tools, materials, and techniques used in every repair project.
Common Concrete Problems
Concrete only fails in a few predictable ways. Here’s the fast version:
Cracks – from shrinkage, settling, or freeze‑thaw
Spalling – surface flaking or chipping
Pitting – small holes from salt or wear
Scaling – thin layers peeling off
Surface wear – rough, dusty, or worn‑down finish
- Heaving – slab lifting from frost or roots
Why You Should Repair Concrete (Before It Gets Worse)
Concrete doesn’t fail all at once. It breaks down slowly — and the longer you wait, the more expensive the fix becomes. Most damage starts from freeze and thaw cycles. Water gets into small cracks, freezes, expands, and pops the surface off a little more each year. That’s how you go from a hairline crack to spalling, pitting, and full‑on slab failure.
The truth is, a lot of contractors will tell you the whole slab needs to be torn out because replacement pays more. But most homeowners don’t need a full replacement. I’ve resurfaced and repaired slabs that would’ve cost tens of thousands of dollars to demo and repour. With the right products and a simple process, you can stop the damage, restore the surface, and extend the life of your concrete for years.
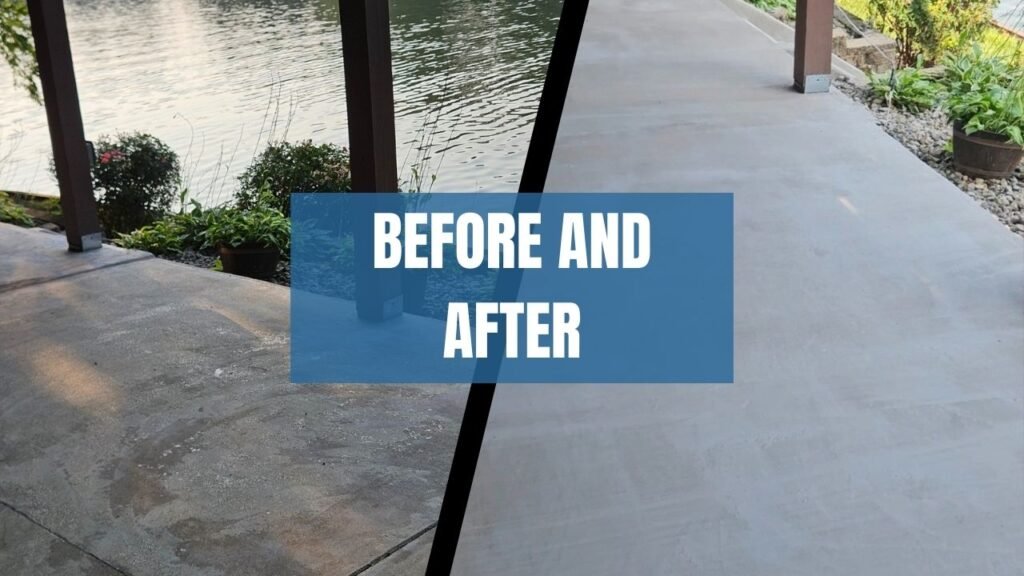
Concrete Resurfacing: Methods and Techniques
Concrete resurfacing can make old, worn‑out concrete look brand new again — but only if you use the right product and prep the surface correctly. There are a lot of cheap resurfacers out there that crack, chip, or peel off within a year. That usually happens because the surface wasn’t cleaned well enough or the product just isn’t strong enough to bond.
Even though concrete is porous and a good resurfacer should bond on its own, using a bonding agent gives you a stronger chemical grip and helps the new layer lock into the old slab instead of sitting on top of it.
Resurfacing concrete can save you thousands in repair costs. If you want to learn more about each type of repair, check out the guides below.
“Step‑by-Step Concrete Resurfacing Guide — Tools & Tips I Use on Every Job”
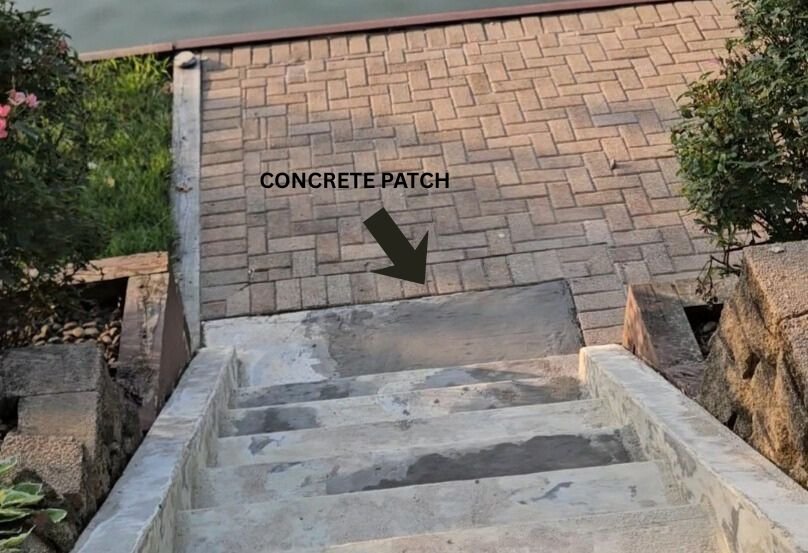
Concrete Patching (How to Fix Holes and Chips)
Concrete patching is the easiest way to repair potholes, deep pits, and broken‑out areas in a slab. When done right, a patch bonds to the existing concrete and restores the strength of the surface without needing a full replacement. The key is cleaning the hole well, removing all loose material, and using a high‑strength patching compound that won’t crumble or pop out over time.
Most homeowners think a pothole means the slab is failing, but that’s not true. A good patching product can fill the damaged area, level it out, and stop the hole from spreading. Just keep in mind that most patching compounds won’t perfectly match the color of your existing concrete, so if you want a uniform look across the whole slab, a resurfacer is the better option.
Concrete patching is a quick, effective way to restore damaged areas in a slab. If you want to see the full process, take a look at the step‑by‑step patching guide below.
Step-by-Step Concrete Patching Guide — Permanent Repairs That Won’t Fail
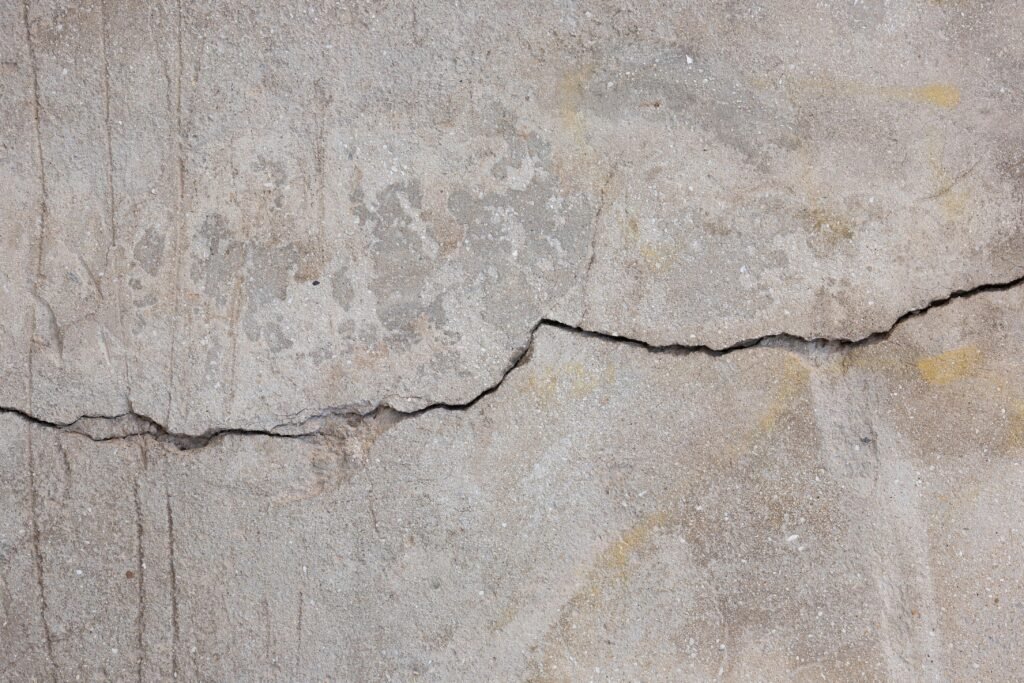
Concrete Crack Repair: How to fix Cracks in Concrete
Cracks are one of the first signs that concrete is starting to break down, and if you ignore them, they only get worse. Water gets inside, freezes, expands, and slowly widens the crack year after year. The good news is that most cracks can be repaired quickly with the right filler and a little prep work.
The key is cleaning the crack thoroughly so the filler can bond. A wire brush, shop vac, or leaf blower works great for removing loose material. Once the crack is clean, a quality crack filler will lock into the concrete and stop the damage from spreading.
Crack repairs are simple to handle and help prevent bigger issues down the road. To see the full process, check out the step‑by‑step crack repair guide below.
Step-by-Step Concrete Crack Repair Guide — Stop Cracks Before They Spread
Final Thoughts on Concrete Repair
Concrete doesn’t last forever, but most problems can be fixed long before you ever need to think about replacement. Whether you’re resurfacing an entire slab, patching a pothole, or filling cracks before they spread, the right products and a little prep work make all the difference. I’ve used every product on this page in real‑world jobs, and they’ve held up through Midwest weather, freeze‑thaw cycles, and heavy traffic.
If you’re tackling a repair yourself, start small, follow the basics, and choose materials that are proven to bond and last. And if your slab needs a fresh, uniform look, a resurfacer is always the best way to bring everything together.
Concrete repair doesn’t have to be complicated — with the right approach, you can extend the life of your slab, improve the appearance, and save a lot of money compared to replacement. Still uncertain check my Should I Repair My Concrete? page and see if your concrete is to far gone for repair.