
How to Resurface Concrete: Step-by-Step Guide
As an Amazon Associate, I earn from qualifying purchases.
Concrete resurfacing is one of the easiest ways to make an old, worn‑out slab look brand new without tearing anything out. Whether your concrete is faded, lightly pitted, or just tired from years of weather, a quality resurfacer can restore the surface in a single day. This guide walks you through the exact steps, tools, and real‑world techniques I use on professional jobs so you can get a smooth, durable finish that lasts.
Related Guides
- How to Repair Concrete Cracks – Step‑by‑step guide for cleaning, prepping, and filling cracks the right way.
- How to Patch Concrete – Best for fixing holes, pits, and damaged areas so your slab is solid and ready for sealing or coating.
- Concrete Repair Hub – For all repair methods, tools, and step‑by‑step tutorials
- Start Here: Concrete Tools & Guides – Your main resource hub for tools, materials, and techniques used in every repair project.
- Best Concrete Resurfacers — The resurfacers I trust for giving old concrete a brand‑new finish.
Why Resurface Your Concrete
Resurfacing is the fastest way to restore old, worn-out concrete. It protects the slab from further damage, improves curb appeal, and can save thousands compared to a full replacement.
Problems Resurfacing Can Fix
Hairline cracks and shrinkage lines
Surface spalling or flaking
Pitting and minor holes
Worn or rough finishes
Why I Trust Resurfacing Concrete
I trust concrete resurfacing — especially when you use the right products — because it’s not just a thin overlay that flakes off in a year. A good resurfacer is more like a high‑strength, polymer‑reinforced sandy grout that’s designed to bite into the pores of the concrete and create a brand‑new wear layer. It becomes part of the slab, not something sitting on top of it.
I check in with customers every year to see how their patios and walkways are holding up, and the answer is always the same: “Still looks great.” I even resurfaced my own old, worn‑out sidewalk, and it’s held up through Midwest winters without a single issue. When the prep is done right and you use a quality product like Ardex CD, resurfacing is one of the most reliable ways to bring old concrete back to life.
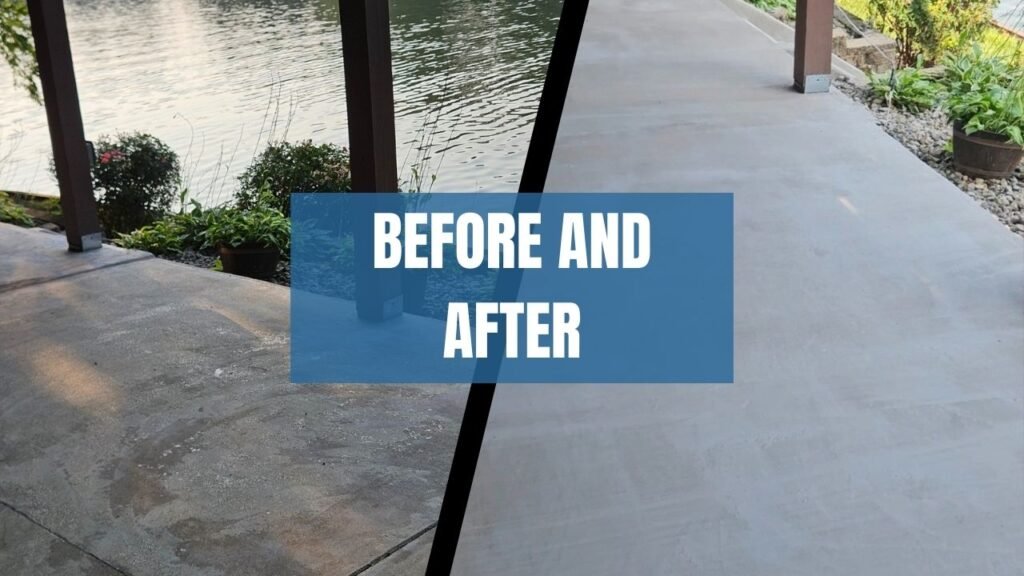
resurfaced with Ardex CD. This product bonds incredibly well and brings old concrete back to life.
Tools & Products You’ll Need for Concrete Resurfacing
For the best results when resurfacing concrete, you’ll need a high-strength resurfacer, a bonding agent, a trowel, and a mixing bucket. I personally use Ardex CD or Ardex CD Fine for long-lasting, durable finishes.
Square Trowel (or Squeegee) – For spreading the resurfacer evenly.
Margin Trowel – Perfect for edges and tight spots.
Mixing Bucket – For mixing your resurfacer to the right consistency.
Finishing Broom – Optional: for textured surfaces. For small areas, a basic broom works fine. If you’re resurfacing indoors, you won’t need a broom.
That’s all the tools and materials you need to get started. Coverage depends on the product and the thickness applied:
Ardex CD: 40‑lb bag covers up to 120 sq. ft. at 1/16 inch or about 60 sq. ft. at 1/8 inch.
Ardex CD Fine: 20‑lb bag covers around 100 sq. ft. at 1/32 inch or about 50 sq. ft. at 1/16 inch.
Coverage will vary depending on how tightly you pull your squeegee or trowel, but these numbers are a solid guideline for planning your project.
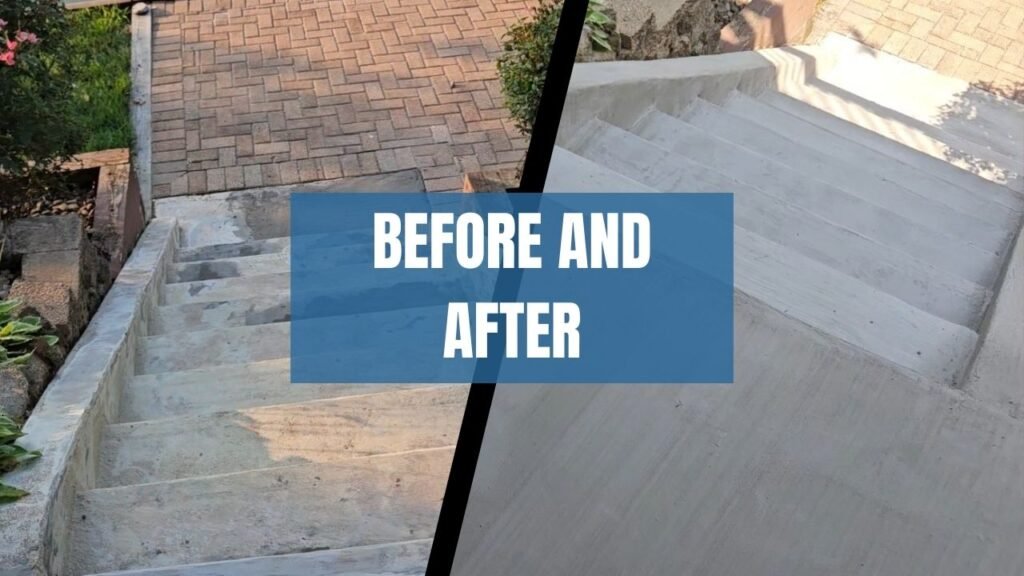
resurfaced with Ardex CD. This product bonds incredibly well and brings old concrete back to life.
Step-by-Step Resurfacing Process
Clean and prep the surface. Power wash the slab, or use a push broom, water, and some scrubbing to remove dirt, dust, and loose material. Let the concrete dry completely before moving on. View my Concrete Cleaning and Maintenance Guide for help
Repair any major damage. Fill potholes or deeper spots—anything too severe for a resurfacer to fix on its own. How to Patch Concrete page has everything you need for a long lasting repair. A bonding agent is optional; concrete is porous, and as long as the surface is clean, a quality resurfacer will bond well.
Make sure the slab is fully dry. Resurfacer won’t bond right if there’s moisture trapped in the surface, so this step matters.
Mix your resurfacer. Follow the instructions on the bag and mix it in a 5‑gallon bucket. Get the consistency right before you start pouring.
Pour the material onto the slab. Start in a corner or far edge and work your way out of the area so you don’t trap yourself.
Spread the resurfacer. Use a squeegee or trowel to pull the material back and forth, keeping it flat and even across the surface.
Maintain a wet edge. Resurfacer dries fast, so your working edge should always have a fresh, wet bead of material that won’t dry up on you. This prevents lines, ridges, and cold joints.
Have a second person broom behind you (optional but helpful). One person spreads while the other broom‑finishes behind. This keeps the pace steady and prevents the material from setting before you texture it.
Work efficiently and exit the area. Because resurfacer is applied so thin, it sets quickly. Keep moving, maintain your wet edge, and always work your way out of the space.
Let it cure and enjoy the results. If you followed the steps, your concrete should look clean, smooth, and freshly poured.
Final Thoughts on Concrete Resurfacing
Concrete resurfacing is one of the simplest ways to bring an old slab back to life without the cost or hassle of tearing anything out. As long as the base concrete is solid and you follow the right prep steps, a quality resurfacer can give you a smooth, durable finish that looks freshly poured. The key is working clean, keeping a steady pace, and maintaining a wet edge so everything blends together. With the right tools and a little planning, most homeowners can knock this out in a single day and get results that look professionally done.